

WooCommerce stands as a leading eCommerce platform offering comprehensive functionality for selling products online. Before adding your first product, familiarize yourself with how product categories, tags, and attributes operate.
If you’re new to WordPress and eCommerce, adding products in WooCommerce can feel like a lot at first — there are pricing fields, inventory settings, shipping details, and image galleries all packed into a single screen. The good news is that WooCommerce organizes all of this into clearly labeled sections, and once you’ve added one product, every product after it follows the exact same pattern.
This guide walks through every section of the WooCommerce product editor step by step: choosing a product type, setting pricing, managing inventory, configuring shipping, organizing products with categories and tags, and uploading product images. By the end, you’ll know exactly where to find every setting you need to get a product live on your store.
Adding Products to WooCommerce
The process resembles writing a new WordPress post:
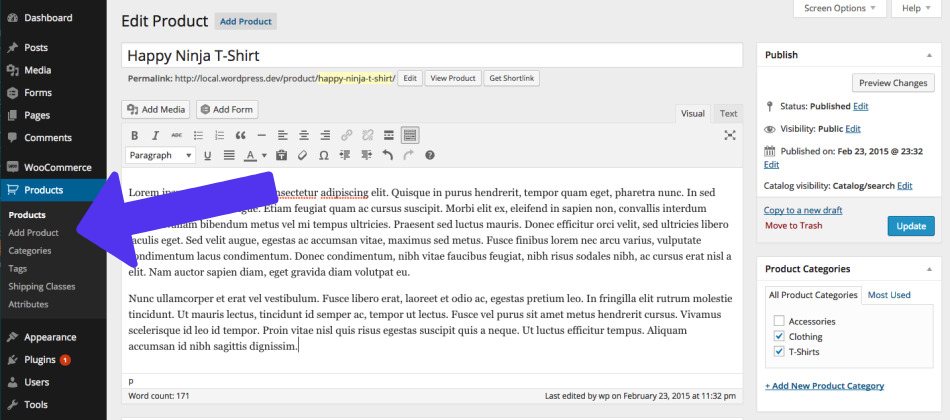
- Navigate to Products > Add Product to enter all product information
- In the Product Name field, enter a descriptive product title
- In the Description box, provide the complete product description
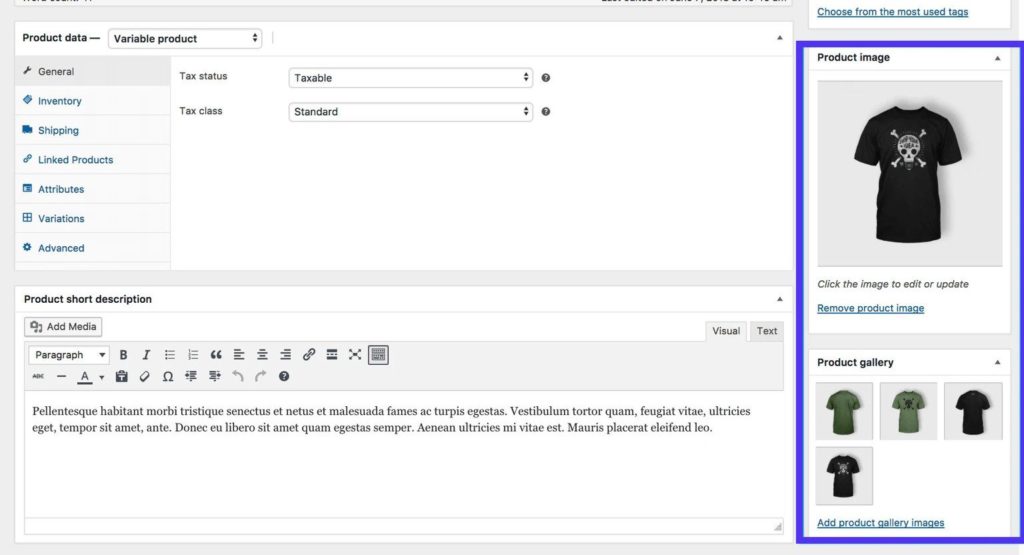
Type of Product You Are Creating
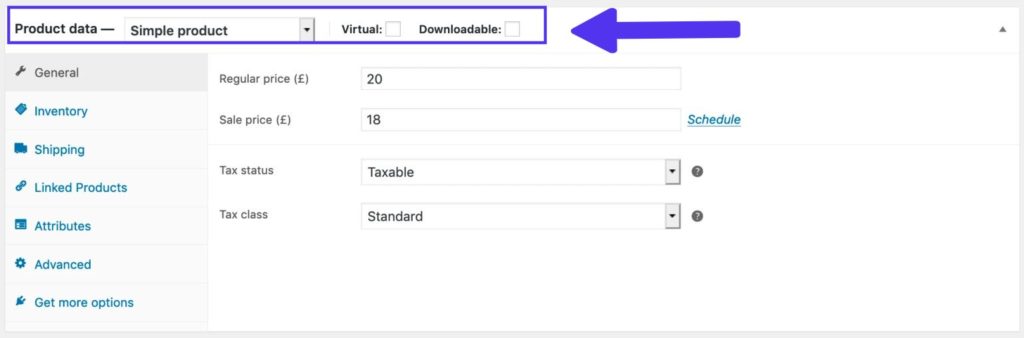
Access the Product Data panel and select from:
- Simple Product (single product) — the default choice for most items: one price, one set of dimensions, no variations.
- Variable Product (product with multiple colors or sizes) — use this when the same item comes in different options, like a T-shirt available in several sizes and colors, each with its own price or stock level.
- Grouped Product (collection of related products) — lets customers view and purchase several related simple products from one listing, without bundling them into a single price.
- Affiliate Product (product sold outside your website) — displays the product on your store but sends the customer to an external site to complete the purchase.
Choosing the right product type up front matters, since switching a product from Simple to Variable later means re-entering pricing and inventory information for each new variation.
Product Price
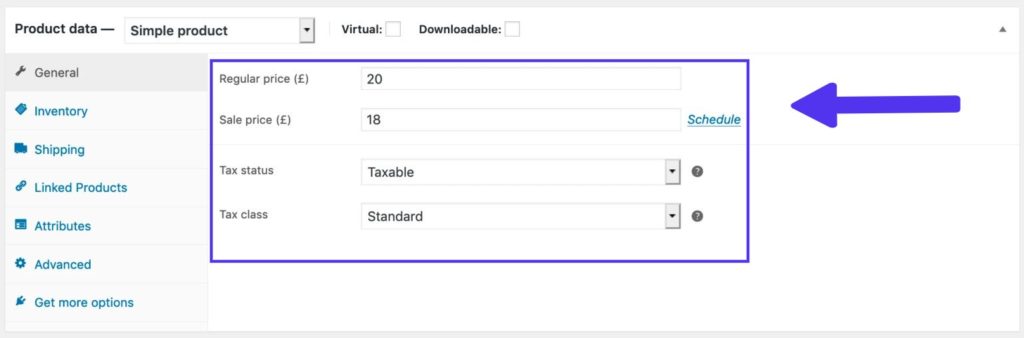
General section includes:
- Regular Price – the item’s standard price
- Sale Price – discounted price when applicable; WooCommerce automatically displays the regular price with a strikethrough next to the sale price on the frontend
- Tax status – options for Taxable, Shipping only, or None
- Tax class – select the applicable tax class
Setting the correct tax status and class matters more than it might seem — misconfigured tax settings are one of the most common WooCommerce setup mistakes, and they can lead to charging customers the wrong amount at checkout.
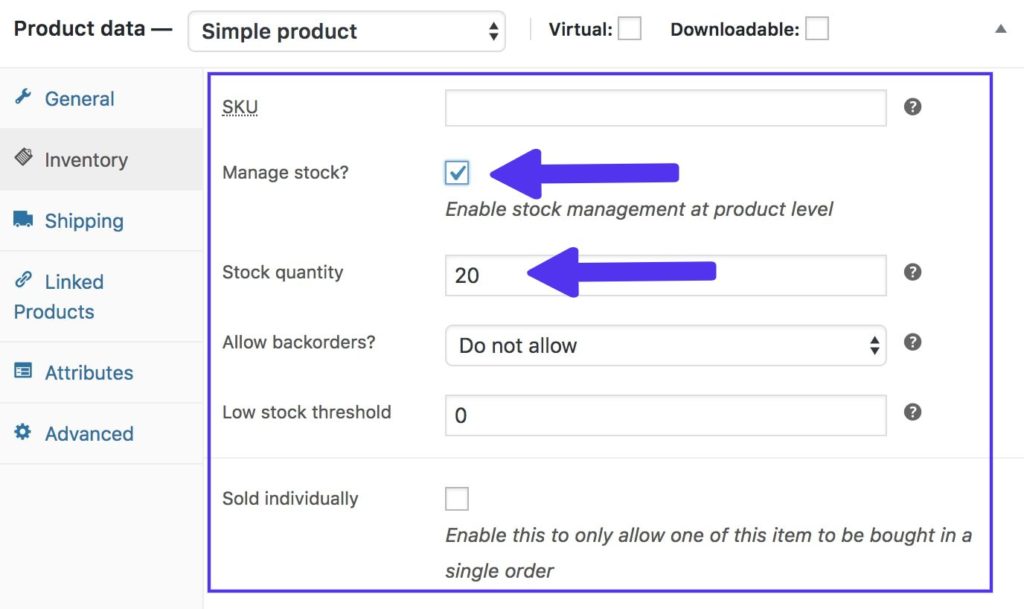
Inventory Section
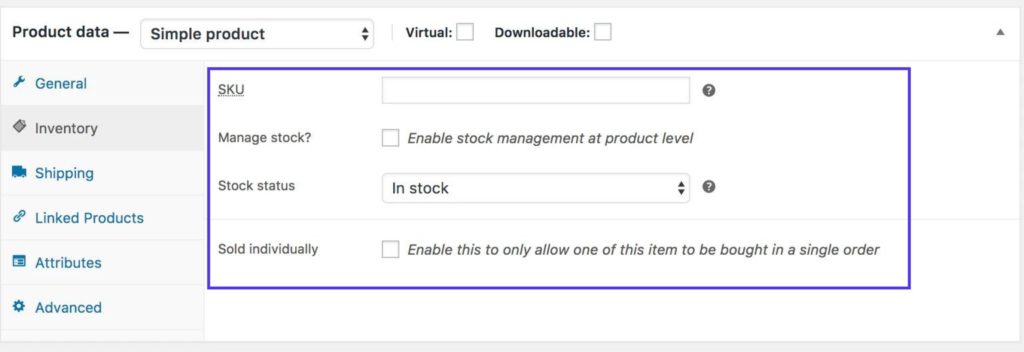
This section manages stock quantity and backorder settings. Enable stock management in Products Inventory Settings. When enabled at the product level, WooCommerce automatically updates stock status based on quantity entered. Options include:
- Stock Quantity entry
- Allow Backorders selection – choose whether customers can order an item once it’s out of stock, and whether they’re notified that it’s on backorder
- Low stock threshold – notification trigger level, so you get a heads-up before a popular product sells out completely
- Sold Individually checkbox to limit one per order – useful for limited-edition items or products where bulk ordering doesn’t make sense
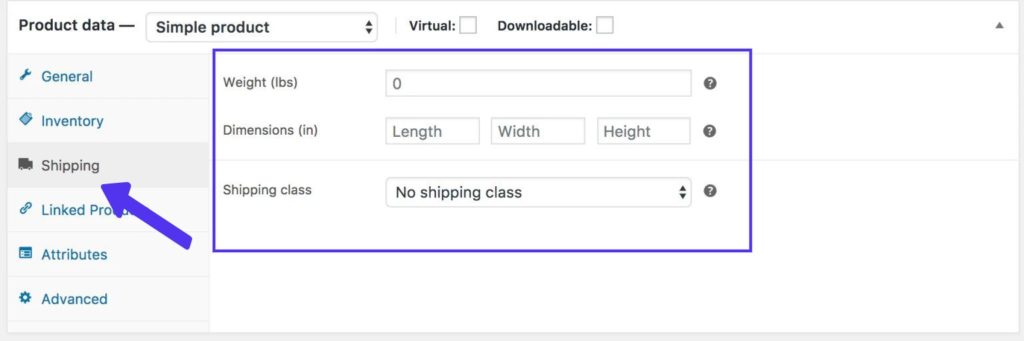
Shipping Section
Enter:
- Weight of the item
- Dimensions (length, width, height)
- Shipping Class assignments
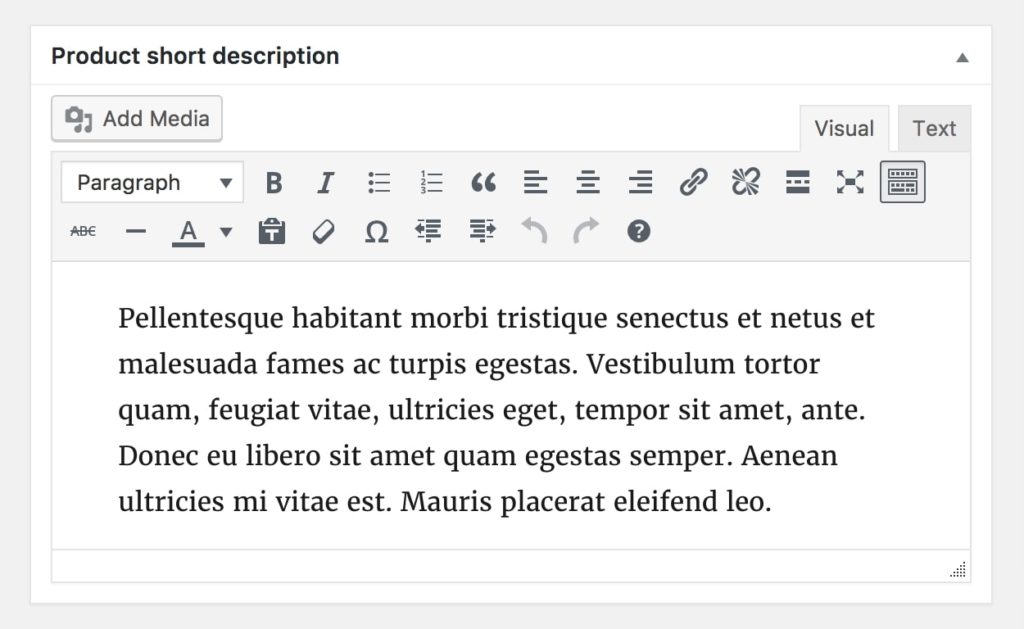
Product Short Description
This description appears adjacent to the product image on product pages.
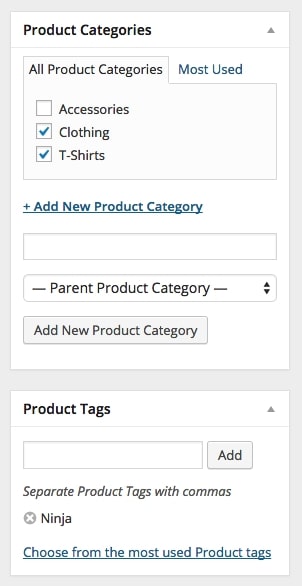
Product Taxonomies
Assign on the right panel:
- Product Category – groups related items for customer browsing
- Product Tags – smaller classifications distinguishing products within categories
Adding Product Images and Galleries
Three image types exist:
- Single Product Image – largest, main/featured image on product details page
- Product Image Gallery – medium-sized images in shop pages and product loops
- Product thumbnails – smallest images in carts and widgets
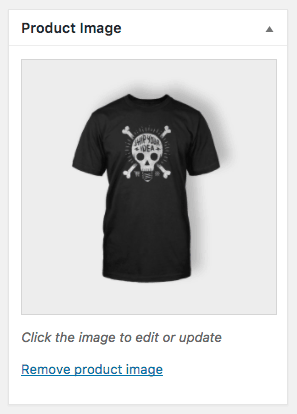
Product Image
The main product image reused across your store in various sizes. Select Set Product Image to add.
Product Galleries
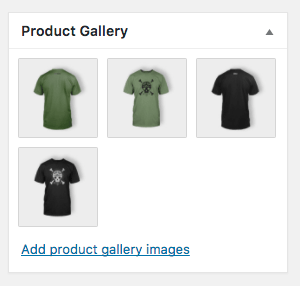
Display multiple product images through the Product Gallery meta box using the same method as adding a single image.
Best Practices When Adding Products in WooCommerce
A few habits that make a real difference once your catalog grows beyond a handful of items:
- Write unique product descriptions. Copying manufacturer descriptions word-for-word can hurt your SEO, since search engines may treat duplicate content across many stores as lower quality.
- Use consistent image dimensions. Mismatched product photo sizes make your shop and category pages look inconsistent and unprofessional.
- Fill in categories and tags for every product. Skipping taxonomies makes it harder for customers to browse your store and can weaken your site’s internal linking structure.
- Keep inventory settings up to date. Accurate stock counts prevent the frustrating experience of a customer ordering something you can no longer fulfill.
- Double-check tax and shipping settings on your first few products before adding dozens more, so a configuration mistake doesn’t need to be fixed across your entire catalog later.
The Bottom Line
Product images function as brand ambassadors across your store and marketing channels. Quality imagery supports buyers throughout their decision-making journey and enhances conversion from visitor to customer.
Adding products in WooCommerce becomes second nature once you’ve worked through the Product Data panel a few times — choosing a product type, setting pricing and tax rules, managing inventory, configuring shipping, and organizing everything with categories, tags, and images. Each section maps directly to something a shopper will see or rely on, from the price they’re charged to the stock count that tells them an item is actually available.
Whether you’re launching your first product or your hundredth, following the same structured process every time — and applying the best practices above — keeps your WooCommerce store consistent, accurate, and easier to manage as your catalog grows.