
SEO details
| Item | Value |
|---|---|
| Target keyword | Power Automate employee onboarding |
| Audience | Beginners new to Power Automate: IT staff, office admins, and school tech teams |
| Meta title (52 characters) | Power Automate Employee Onboarding: Beginner’s Guide |
| Meta description (139 characters) | Learn Power Automate employee onboarding step by step. Turn a Microsoft Form into new user accounts, groups, and welcome emails automatically. |
| URL slug | /power-automate-employee-onboarding |
LSI keywords: automate new user accounts, Microsoft Forms to Entra ID, create user in Microsoft Entra ID, Power Automate onboarding flow, Microsoft 365 user provisioning, add user to group automatically, onboarding workflow automation, Power Automate expressions for beginners, welcome email automation.
Introduction
Every new hire needs an account. Someone has to create the email, pick a username, add the person to the right groups, and send a welcome message. Done by hand, this takes 15 to 30 minutes per person. It is also easy to make mistakes, like a typo in a username or a missed group.
That is where Power Automate employee onboarding comes in. Power Automate is Microsoft’s tool for building automatic workflows, called flows. You do not need to be a programmer to use it. You connect blocks together, and each block does one job.
In this guide, you will build a real onboarding flow from scratch. A manager fills out a simple Microsoft Form. Power Automate then creates the user in Microsoft Entra ID, adds them to groups, and emails everyone who needs to know. It even handles the tricky case where a username is already taken.
This project is perfect for beginners. You will learn the core skills of Power Automate: triggers, variables, expressions, conditions, loops, and error handling. By the end, you will have a working flow and the confidence to automate other tasks too.
What you will build and what you need
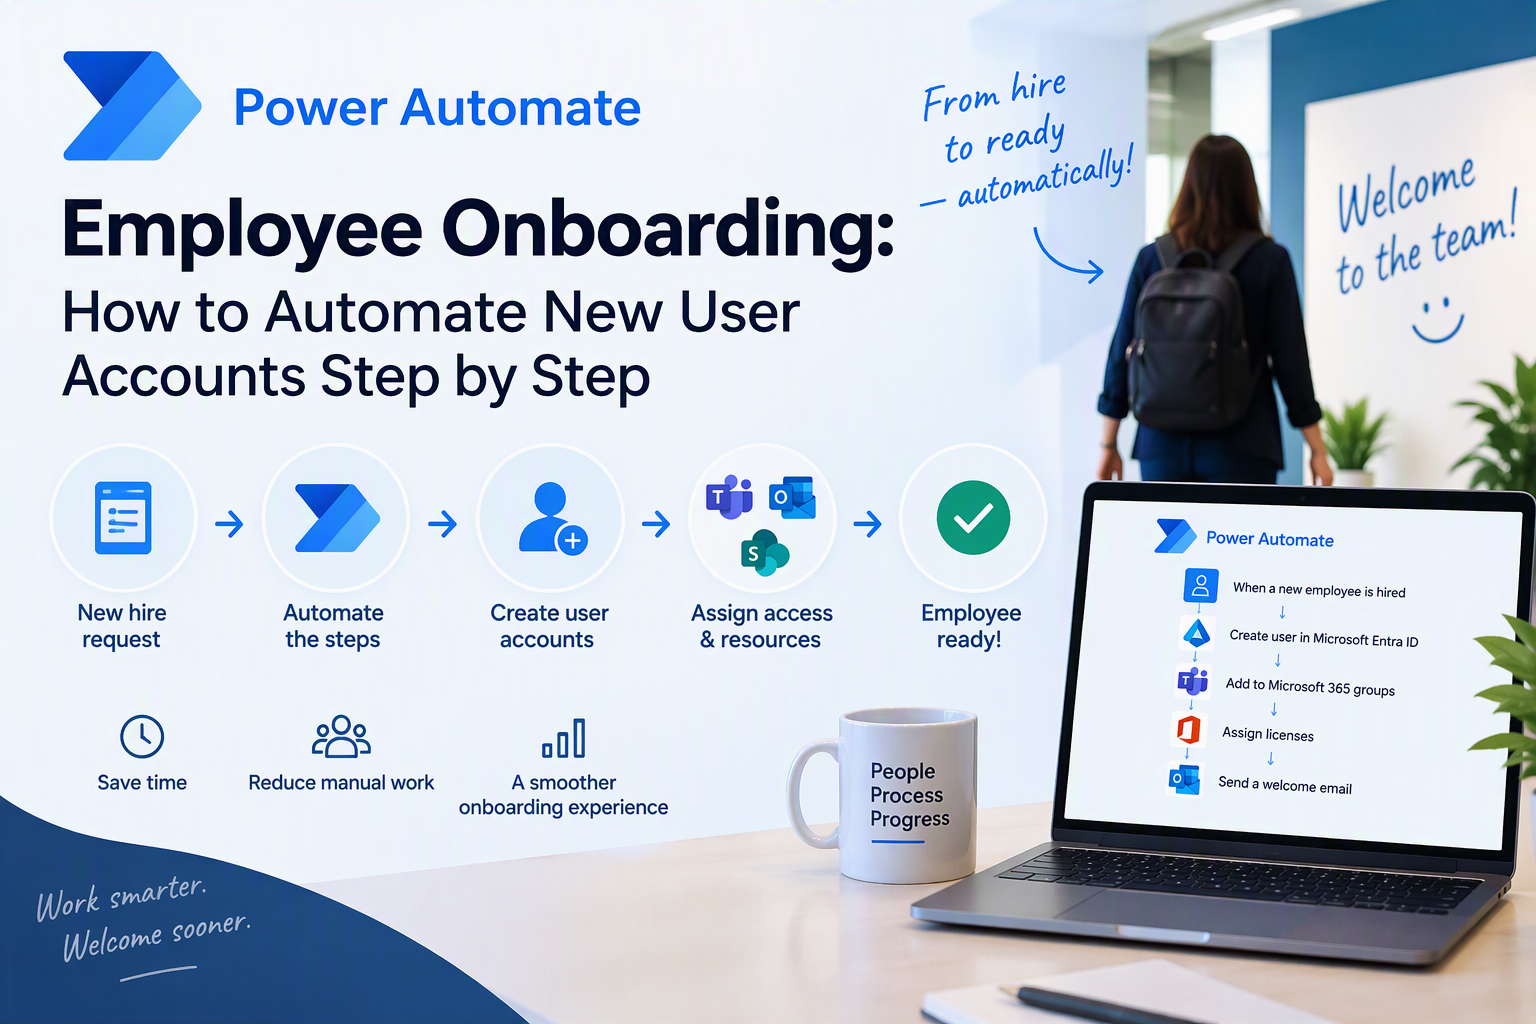
Your finished flow follows these steps every time a form is submitted:
- A manager submits the onboarding form.
- The flow reads the answers and builds the username.
- It creates the account in Microsoft Entra ID.
- It adds the new user to the right groups, which can also assign their license.
- It emails the site manager and the new employee.
- If the username is taken, it tries a backup username instead.
What you need before you start
- A Microsoft 365 account with Power Automate. You will build the form in Part 1.
- An admin account in Microsoft Entra ID with the User Administrator and Groups Administrator roles, or higher. The flow runs as this account.
- About 1 to 2 hours for the first build and tests.
- A notepad file to keep your question IDs and group IDs as you collect them.
Tip: Use a test name like “Test User” while you build. Delete the test accounts when you are done.
How to build the Power Automate employee onboarding flow
Follow the 10 parts below in order. Every box with code is ready to copy and paste. Wherever you see yourschool.org, use your own domain.
Part 1: Build the onboarding form
- Go to forms.office.com and click New Form.
- Name it
Employee Onboarding Form. - Add these questions, in this order:
| # | Question title | Question type | Required? |
|---|---|---|---|
| 1 | First Name | Text | Yes |
| 2 | Middle Name | Text | No |
| 3 | Last Name | Text | Yes |
| 4 | Position Title | Text | Yes |
| 5 | Site Name | Choice | Yes |
| 6 | Is this a substitute account? | Choice: Yes, No | Yes |
| 7 | Employment Type | Choice: Classified, Certificated | Yes |
For Site Name, add one choice per location, for example District Office and Lincoln Elementary.
Important: Write down your choices exactly as you typed them. The flow matches these words letter for letter, including spaces and capital letters.
Part 2: Create the groups and copy their IDs
You need one licensing group, a Classified and a Certificated group for each site, and one substitute group.
For each group:
- Go to entra.microsoft.com → Groups → All groups → New group.
- Fill in the form:
- Group type: Security
- Group name: for example,
Lincoln Elementary - Classified - Microsoft Entra roles can be assigned: No
- Membership type: Assigned
- Owners: add the account that will run your flow
- Click Create.
- Open the new group and copy its Object ID from the Overview page. Paste it into a notepad file next to the group name.
For the licensing group only, also go to Licenses → + Assignments, pick your staff license, and click Save.
Why new groups? The flow can only add people to plain cloud groups. Older groups that are mail-enabled, or synced from an on-premises server, will fail.
Part 3: Start the flow and find your question IDs
- Go to make.powerautomate.com → Create → Automated cloud flow.
- Name it
Employee Onboarding. Pick the trigger When a new response is submitted (Microsoft Forms). Click Create. - In the trigger, choose your form.
- Click + below the trigger and add Get response details (Microsoft Forms).
- Form Id: your form
- Response Id: click the field, then the lightning bolt, then pick Response Id
- Click Save.
Now find your question IDs. The flow reads each answer by an ID like r5a3c9e1..., not by the question’s title.
- Submit one test response on your form.
- In Power Automate, open your flow and click the run under 28-day run history.
- Click Get response details and look at Outputs.
- You will see each answer next to its ID. Copy each ID into your notepad file:
| Placeholder in this guide | Question |
|---|---|
Q_FIRST | First Name |
Q_LAST | Last Name |
Q_TITLE | Position Title |
Q_SITE | Site Name |
Q_SUB | Is this a substitute account? |
Q_TYPE | Employment Type |
Tip: Type a different answer in each test question, like “TestFirst” and “TestLast”. That makes it easy to tell the IDs apart.
Part 4: Learn the one rule for pasting expressions
An expression is a small formula, like one in Excel. This guide gives you two kinds of code boxes. Each one is pasted a different way.
Code that starts with @{ goes straight into a field. Click the field, paste, done. Example:
@{variables('Employee Object')?['UPN']}
Long code that does not start with @{ goes into the expression editor:
- Click the field.
- Click the fx icon next to it.
- Paste the code into the box at the top of the panel that opens.
- Click Add. The field now shows a colored chip.
How to check your work: Click the action, then the Code view tab. Every value from this guide should start with @. If it does not, the code went in as plain text. Delete it and paste it again.
Tip: If you rename an action, its name inside the code changes too. Spaces become underscores, so Create user 1 becomes Create_user_1. Keep the action names from this guide to avoid that.
Part 5: Add the Employee Object variable
This variable builds everything about the new hire: names, usernames, and a temporary password.
- Click + below Get response details and add Initialize variable.
- Set Name to
Employee Objectand Type toObject. - Copy the code below into Notepad.
- Use Edit → Replace to swap each placeholder for your real ID from Part 3:
Q_FIRST,Q_LAST,Q_TITLE,Q_SITE,Q_SUB, andQ_TYPE. Also swapyourschool.orgfor your domain. Click Replace All each time. - Click the Value field, click fx, paste the edited code, and click Add.
json(concat('{"First Name":"', trim(outputs('Get_response_details')?['body/Q_FIRST']), '","Last Name":"', trim(outputs('Get_response_details')?['body/Q_LAST']), '","Position Title":"', trim(outputs('Get_response_details')?['body/Q_TITLE']), '","Location":"', outputs('Get_response_details')?['body/Q_SITE'], '","Employee Type":"', outputs('Get_response_details')?['body/Q_TYPE'], '","Is Substitute":"', coalesce(outputs('Get_response_details')?['body/Q_SUB'],'No'), '","Display Name":"', trim(outputs('Get_response_details')?['body/Q_FIRST']), ' ', trim(outputs('Get_response_details')?['body/Q_LAST']), '","Mail Nickname":"', if(equals(coalesce(outputs('Get_response_details')?['body/Q_SUB'],''),'Yes'),'sub.',''), toLower(replace(replace(replace(concat(substring(trim(outputs('Get_response_details')?['body/Q_FIRST']),0,1),trim(outputs('Get_response_details')?['body/Q_LAST'])),' ',''),'-',''),'''','')), '","UPN":"', if(equals(coalesce(outputs('Get_response_details')?['body/Q_SUB'],''),'Yes'),'sub.',''), toLower(replace(replace(replace(concat(substring(trim(outputs('Get_response_details')?['body/Q_FIRST']),0,1),trim(outputs('Get_response_details')?['body/Q_LAST'])),' ',''),'-',''),'''','')), '@yourschool.org","Alt Mail Nickname":"', if(equals(coalesce(outputs('Get_response_details')?['body/Q_SUB'],''),'Yes'),'sub.',''), toLower(replace(replace(replace(concat(trim(outputs('Get_response_details')?['body/Q_FIRST']),'.',trim(outputs('Get_response_details')?['body/Q_LAST'])),' ',''),'-',''),'''','')), '","Alt UPN":"', if(equals(coalesce(outputs('Get_response_details')?['body/Q_SUB'],''),'Yes'),'sub.',''), toLower(replace(replace(replace(concat(trim(outputs('Get_response_details')?['body/Q_FIRST']),'.',trim(outputs('Get_response_details')?['body/Q_LAST'])),' ',''),'-',''),'''','')), '@yourschool.org","Temp Password":"Temp!', substring(guid(),0,8), '"}'))
For a new hire named Maria Lopez, this builds:
| Key | Regular employee | Substitute |
|---|---|---|
| UPN (main email) | [email protected] | [email protected] |
| Alt UPN (backup email) | [email protected] | [email protected] |
| Temp Password | Temp! + 8 random characters | same |
Spaces, hyphens, and apostrophes are removed, so “De La Cruz” becomes delacruz.
Part 6: Add the Management list, Group Map, and Group IDs
Add these three actions one after another, directly below Employee Object.
6a. Management list object
This tells the flow who to email at each site.
- Add Initialize variable. Name:
Management list object. Type:Object. - Paste this into Value as plain text, not with fx. Add one line per site, using your real site names and emails:
{
  "District Office": "[email protected]",
  "Lincoln Elementary": "[email protected]"
}
To email two people at one site, separate them with a semicolon: "[email protected];[email protected]".
6b. Group Map
This tells the flow which groups each new hire joins.
- Add Initialize variable. Name:
Group Map. Type:Object. - Paste this into Value as plain text. Replace each
GROUP-IDwith an Object ID from Part 2:
{
  "All": ["GROUP-ID-licensing"],
  "Site": {
    "District Office": {
      "Classified": ["GROUP-ID-do-classified"],
      "Certificated": ["GROUP-ID-do-certificated"]
    },
    "Lincoln Elementary": {
      "Classified": ["GROUP-ID-lincoln-classified"],
      "Certificated": ["GROUP-ID-lincoln-certificated"]
    }
  },
  "Substitute": ["GROUP-ID-substitutes"]
}
Copy a site block to add more sites. If a site has only one group, delete the line it does not need.
6c. Group IDs
This picks the right groups for this person.
- Add Data Operation → Compose. Rename it
Group IDs. - Click Inputs, click fx, paste this, and click Add:
union(variables('Group Map')?['All'], coalesce(variables('Group Map')?['Site']?[variables('Employee Object')?['Location']]?[variables('Employee Object')?['Employee Type']], json('[]')), if(equals(variables('Employee Object')?['Is Substitute'],'Yes'), coalesce(variables('Group Map')?['Substitute'], json('[]')), json('[]')))
A classified substitute at Lincoln Elementary would get three groups: licensing, Lincoln Classified, and Substitutes.
Part 7: Create the user
- Click + below Group IDs and add Create user (Microsoft Entra ID).
- Set Account Enabled to
Yes. - Click Show all under Advanced parameters.
- Paste each value straight into its field:
| Field | Paste this |
|---|---|
| Display Name | @{variables('Employee Object')?['Display Name']} |
| Mail Nickname | @{variables('Employee Object')?['Mail Nickname']} |
| Password | @{variables('Employee Object')?['Temp Password']} |
| User Principal Name | @{variables('Employee Object')?['UPN']} |
| Given Name | @{variables('Employee Object')?['First Name']} |
| Surname | @{variables('Employee Object')?['Last Name']} |
| Job Title | @{variables('Employee Object')?['Position Title']} |
| Department | @{variables('Employee Object')?['Location']} |
- Scroll to the bottom of the panel. Check the line that says Connected to. It must be an admin account with the User Administrator and Groups Administrator roles, or higher. If not, click Change connection and sign in with that account.
- Click Save.
The user will be asked to change the temporary password at first sign-in. You do not need to set that up.
Part 8: Add groups and send emails (when it works)
Add these four actions one after another, below Create user.
8a. Add the user to every group
- Add Control → Apply to each.
- Click Select An Output From Previous Steps, click fx, paste this, and click Add:
outputs('Group_IDs')
- Inside the loop, click + and add Add user to group (Microsoft Entra ID):
| Field | Paste this |
|---|---|
| Group Id | @{items('Apply_to_each')} |
| User Id | @{body('Create_user')?['id']} |
- Open the Settings tab of Add user to group. Under Retry policy, choose Fixed interval, set Count to
4and Interval toPT30S. This gives a brand-new account time to appear.
8b. Email the site contact
Below the loop (outside it), add Office 365 Outlook → Send an email (V2):
- To:
@{variables('Management list object')?[variables('Employee Object')?['Location']]} - Subject:
New staff account: @{variables('Employee Object')?['Display Name']} - Body: click the </> icon in the body toolbar, paste this, then click </> again:
<p>A new staff account has been created for your site.</p>
<p>
<b>Name:</b> @{variables('Employee Object')?['Display Name']}<br>
<b>Position:</b> @{variables('Employee Object')?['Position Title']}<br>
<b>Site:</b> @{variables('Employee Object')?['Location']}<br>
<b>Email / Username:</b> @{variables('Employee Object')?['UPN']}<br>
<b>Temporary password:</b> @{variables('Employee Object')?['Temp Password']}
</p>
<p>Please share these details with the employee privately on their first day.</p>
<p>- Technology Department</p>
8c. Wait for the mailbox
Add Schedule → Delay. Set Count to 60 and Unit to Minute. A new mailbox can take up to an hour to appear after the license is assigned.
8d. Send the welcome email
Add Send an email (V2) again:
- To:
@{variables('Employee Object')?['UPN']} - Subject:
Welcome, @{variables('Employee Object')?['First Name']}! - Body: use </> again and paste:
<p>Hi @{variables('Employee Object')?['First Name']},</p>
<p>Welcome to the team! Your account is ready.</p>
<p><b>Email / Username:</b> @{variables('Employee Object')?['UPN']}<br>
<b>Sign in at:</b> <a href="https://www.microsoft365.com">www.microsoft365.com</a></p>
<p>Your site contact has your temporary password. You will set your own password the first time you sign in.</p>
<p>Never share your password. IT will never ask for it.</p>
<p>- Technology Department</p>
Part 9: Handle a username that is already taken
If mlopez already exists, Create user fails. This part makes the flow try the backup username, maria.lopez, instead.
9a. Add a Condition that runs only on failure
- Hover over the arrow just below Create user, click +, and choose Add a parallel branch.
- Add Control → Condition.
- Open its Settings tab. Under Run after, expand Create user. Uncheck Is successful and check Has failed. A dotted line now connects it to Create user.
- Back on Parameters, set the one row:
- Left box: click fx, paste
body('Create_user')?['error']?['message'], click Add - Middle:
contains - Right box: type
already exists
- Left box: click fx, paste
9b. In the True branch: create the backup account
- In True, add Create user (Microsoft Entra ID). It will be named Create user 1.
- Fill it in exactly like Part 7, except for these two fields:
| Field | Paste this |
|---|---|
| Mail Nickname | @{variables('Employee Object')?['Alt Mail Nickname']} |
| User Principal Name | @{variables('Employee Object')?['Alt UPN']} |
9c. Add Condition 1 to catch a sync delay
Sometimes Microsoft Entra ID creates the account but says “not found” for a few seconds. This check handles that.
- Below Create user 1, add Control → Condition. It will be named Condition 1.
- In Settings → Run after, expand Create user 1 and check both Is successful and Has failed.
- Set the row:
- Left box: click fx, paste the code below, click Add
- Middle:
is equal to - Right box: click fx, type
true, click Add
or(equals(actions('Create_user_1')?['status'],'Succeeded'), equals(body('Create_user_1')?['error']?['code'],'Request_ResourceNotFound'))
9d. In Condition 1’s True branch: finish the backup account
Add these actions one after another:
- Delay: Count
30, UnitSecond. - Get user (Microsoft Entra ID). User Id or Principal Name:
@{variables('Employee Object')?['Alt UPN']} - Apply to each: with fx, paste
outputs('Group_IDs'). It will be named Apply to each 1. - Inside that loop, Add user to group, with the same retry policy as Part 8:
- Group Id:
@{items('Apply_to_each_1')} - User Id:
@{body('Get_user')?['id']}
- Group Id:
- Below the loop, the site email from Part 8b.
- A Delay of 60 minutes.
- The welcome email from Part 8d.
- Control → Terminate with Status set to
Succeeded. This marks the run as a success, so you do not get a “Flow run failed” email.
In both emails, change every ['UPN'] to ['Alt UPN']. That way, they show the backup address.
Tip: To copy an email action, click its … menu and choose Copy action. Then click + where you want it and choose Paste an action.
Part 10: Add error emails, then test
10a. Error emails
You have two False branches left: one under Condition and one under Condition 1. In each, add Send an email (V2), then Terminate with Status set to Failed.
- To: your IT email address
- Subject:
Account setup failed: @{variables('Employee Object')?['Display Name']} - Body: use </> and paste:
<p>The onboarding flow could not create this account.</p>
<p>
<b>Name:</b> @{variables('Employee Object')?['Display Name']}<br>
<b>Site:</b> @{variables('Employee Object')?['Location']}<br>
<b>Tried:</b> @{variables('Employee Object')?['UPN']} and @{variables('Employee Object')?['Alt UPN']}<br>
<b>Error:</b> @{body('Create_user')?['error']?['message']}
</p>
<p>Please create this account by hand.</p>
In the email under Condition 1, change Create_user to Create_user_1 in the Error line.
10b. Check your finished flow
Your flow should match this layout:
When a new response is submitted
Get response details
Employee Object
Management list object
Group Map
Group IDs
Create user
 ├─ (works)  Apply to each → Site email → Delay 60 min → Welcome email
 └─ (fails)  Condition: error contains "already exists"
      ├─ True:  Create user 1
      │          └─ Condition 1
      │               ├─ True:  Delay 30 sec → Get user → Apply to each 1
      │               │         → Site email → Delay 60 min → Welcome email → Terminate (Succeeded)
      │               └─ False: Error email → Terminate (Failed)
      └─ False: Error email → Terminate (Failed)
10c. Test it in three rounds
- New name: submit
Test Onboard. Check thattonboardappears in Entra with the right groups. - Same name again: submit
Test Onboarda second time. Check thattest.onboardappears. - Substitute: submit a new name with Yes for substitute. Check that the email starts with
sub..
After each test, open the run and confirm every action has a green check. When you are done, delete the test accounts in Entra.
Common beginner mistakes and how to fix them
These are the errors you are most likely to see while building this flow:
| Error or problem | What it means | How to fix it |
|---|---|---|
| Invalid value for property ‘mailNickname’ | The expression was typed as plain text | Re-enter it with fx or wrap it in @{ } |
Email shows variables(...) instead of names | Same plain-text problem, in the email body | Use fx, or paste HTML in the body’s code view |
| Insufficient privileges | The flow’s connection account lacks admin rights | Check the account under Change connection at the bottom of the action |
| Add user to group fails on older groups | The group is mail-enabled or synced from on-premises AD | Use cloud security groups or Microsoft 365 groups |
| Fields come back empty | A key name does not match, or a form question changed | Check the Employee Object output in the run history |
| Every step after a failure is skipped | Run after is still set to “Is successful” | Set the next step to run after Has failed |
How to troubleshoot any run
- Open your flow and click a run under 28-day run history.
- Find the first action with a red mark.
- Click it and open Outputs → Show raw outputs.
- Read the
messageundererror. It almost always tells you the real cause.
Tip: The “Flow run failed” email only names the first error. Always open the run itself to see what happened after.
Conclusion
You just built a complete Power Automate employee onboarding flow. A single form submission now creates a user, picks a username, adds the person to the right groups, and sends welcome emails. What used to take 15 to 30 minutes per hire now happens in about a minute, with no typos.
Along the way, you learned the building blocks used in almost every flow:
- Triggers start the flow when something happens, like a form submission.
- Variables keep all of a new hire’s details in one place.
- Expressions build and clean up text, as long as you insert them with fx or
@{ }. - Loops repeat an action, like adding a user to several groups.
- Conditions and Run after let your flow recover when something fails.
Start small. Get the basic version working with one test user, then add the backup username, group map, and delays one at a time. Test after each change, and use the run history to find problems fast.
Once your Power Automate employee onboarding flow runs smoothly, try the same skills on other tasks. You could build an offboarding flow that disables accounts, or a flow that resets passwords on request. Every flow you build makes the next one easier.